Transferring Art: 3 Easy Techniques for Image Transfers on Canvas or Wood
 Soma Mandal Datta
Learn how to transfer images onto canvas or wood with these 3 popular methods: gel medium transfer, Mod Podge transfer, and photo transfer medium.
Transferring Art: 3 Easy Techniques for Image Transfers on Canvas or Wood
Mixed media painting is a popular form of art that incorporates various materials and techniques to create dynamic and layered pieces. These pieces often combine traditional painting techniques with unconventional materials such as fabric, found objects, and even digital media. Mixed media art can be created on a variety of surfaces including canvas, paper, wood, and metal. Artists can use a range of techniques to incorporate these materials into their work, such as collaging, layering, painting, and drawing.
One of the advantages of mixed media painting is that it allows artists to experiment and push the boundaries of traditional painting techniques. It also allows for greater flexibility and freedom in expressing ideas and emotions through art. Examples of mixed media paintings can range from abstract and colourful pieces to more realistic and detailed works. The possibilities are endless with this versatile and exciting form of art.
For a free Mixed Media Workshop CLICK HERE: PAINT YOUR 'HAPPY' MIXED MEDIA WORKSHOP
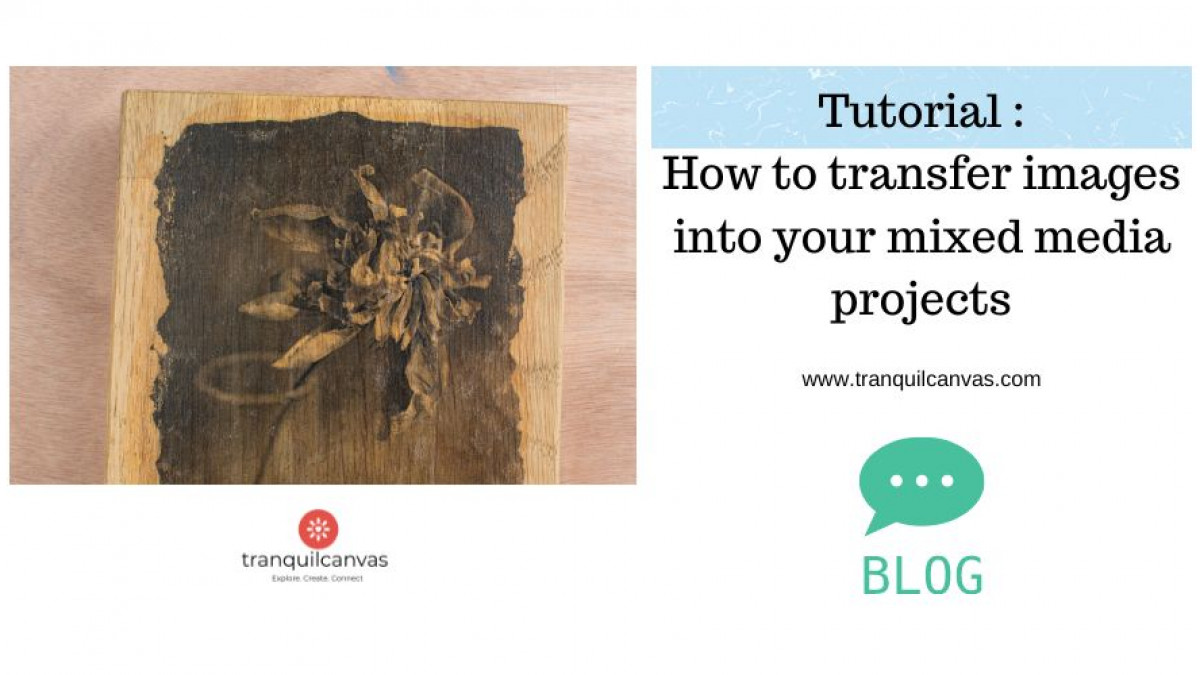
Image transfers are a wonderful addition to mixed media projects, adding depth and texture to the artwork. There are a variety of techniques to achieve image transfers, including gel medium photo transfers, Mod Podge photo transfers, and photo transfer mediums. Each technique has its own unique advantages and applications, and choosing the right one depends on the desired effect and materials being used. In this article, we will break down each of these techniques and provide step-by-step instructions on how to do image transfers for mixed media projects.

What are image transfers?
Image transfers are a technique used to transfer images from one surface onto another. This process involves printing or copying an image onto a special paper or film and then transferring the image onto the desired surface. The most commonly used surfaces for image transfers are wood, fabric, ceramic, and glass. The beauty of image transfers lies in the fact that they can be created using a wide range of materials and techniques, including wax paper transfers, gel medium transfers, and iron-on transfers. This allows artists and crafters to experiment with different surfaces and methods to achieve a unique and personalized look for their projects. Image transfers are utilized in a variety of creative projects, such as scrapbooking, t-shirt printing, and DIY home décor.
Image transfers are a fun and creative way to incorporate images into your mixed media art projects such as with acrylic paints, collage techniques or scrapbooking projects. Apart from mixed media, you could make gifts such as tea coasters or decorative items with themed photo transfers on them such as Christmas or birthday. You could create coffee mugs with your favourite photos on them to give as gifts or one for yourself. Another great thing is that you can create reproductions of your artworks in different sizes on variety of materials depending on the transfer medium that you choose.
Once you learn the different options available it can be addictive hobby to pursue! I usually transfer images on canvas and wood and this tutorial is to help you decide from 3 easy options to do image transfers.
Note that there are several techniques or mediums for doing image transfers on canvas or wood, and each one produces a unique effect. Experiment first to avoid disappointment. Also, each medium has its unique drying time which MUST be noted and practised to avoid blotchy transfers.
Here are some tips to avoid common issues during photo transfer:
Tips for successful photo transfers
1. While some mediums work with home ink-jet prints, for better chances of success use laser prints or photocopies as the ink is waterproof and image transfers if done correctly are usually less blotchy.
2. Take your time while removing the paper using a mister or wet sponge to wet the back of the paper. Avoid rubbing too hard or you might end up removing the print itself.
3. Once you have removed all the paper, apply a coat of thin gloss medium to seal it.
4. Varnish is usually not required (example journal pages) but you could apply a coat to seal it from dust and moisture if deciding to hang it for display.
5. For items that may encounter water and moisture – use mediums designed to be waterproof once dry. Alternatively, you could ‘seal’ your transfer with suitable waterproofing coat of sealant.
6. If you want to use prints containing texts or fonts such as newspaper clippings, music sheets or story books, then you need to reverse or mirror print it using a computer program or printer settings. This is because the image transfer is always a mirror image of the image used.
7. Setting the print requires patience when the medium is wet. And the steps remain same for all options below. As soon as the medium is applied and print placed on the surface, press FIRMLY BUT GENTLY. Then place a grease proof paper or plastic sheet on top and gently even out any wrinkles using the edge of a credit card. Do not rush this step or the wet print might rip.
8. Removal of paper after the print has been glued to the surface takes time and a gentle hand. It's not laborious but slightly time intensive. So play your favourite music or do this step while enjoying your favourite drink or beverage !
So here are three of my favourite methods you can try:
Gel medium transfer

The gel medium transfer method is a popular choice for transferring images onto canvas or wood. There are a variety of gel mediums available in the market. Gloss Gel Mediums offer the best transfers compared to Matte. But this may differ from one brand to another. My tip would be to experiment first before trying it on your favourite print. Also, you will need the standard or basic gloss gel medium which does not contain ingredients to add structure or texture such as thick/impasto gel mediums some of which may also contain grit. So, here's how it works:
- Choose the image you want to transfer and print it out on a laser printer or laser photocopier.
- Apply a thick layer of gel medium to your canvas or wood panel using a stiff-bristled brush.
- Place your printed image face down onto the gel medium and press down firmly to smooth out any air bubbles. Use the tip above (Use greaseproof paper and a gentle hand).
- Let the gel medium dry completely, usually overnight.
- Wet the back of the paper with water and gently rub it with your fingers in little circles to remove the paper fibres and reveal the transferred image underneath.
Mod Podge transfer

Another popular method for image transfers is the Mod Podge transfer technique. And this is my personal favourite only because of its versatility in terms of function from a glue to a sealant. It's my go-to medium whenever there's paper involved in my mixed media projects such as decoupage and collage projects. It's actually fun to combine these techniques while photo-transferring since Mod-Podge once dry is an excellent sealer too. So, here's how to use Mod-podge for photo transfers:
- Print out your image on a laser printer or photocopier.
- Apply a thick layer of Mod Podge to the image side of the paper.
- Place the Mod Podge-coated paper face down onto your canvas or wood panel and press down firmly BUT GENTLY and follow the tip above.
- Let the Mod Podge dry completely, usually several hours or overnight.
- Wet the back of the paper with water and gently rub it with your fingers in little circles to remove the paper and reveal the transferred image.
Note: Mod-podge range also includes a special photo-transfer medium designed for this specific purpose. But I prefer to use the Gloss Mod-Podge sealer and glue for its versatility for mixed media art projects.
Photo transfer medium

Another method for transferring images onto canvas or wood is to use a photo transfer medium. This method involves using a special transfer medium that is designed to transfer images onto various surfaces such as wood, glass or canvas. For this option, every brand offers transfer-abilities on specific number or type of surfaces. Hence, I highly recommend reading the product brochure before buying to ensure it matches your photo-transfer criteria. So, here's what you need to know for using photo transfer mediums:
- Choose the image you want to transfer and print it out on a laser printer or photocopier.
- Apply a thin, even layer of photo transfer medium to your image using a brush (or on the surface as per instructions on package).
- Place the image face down onto your canvas or wood panel and smooth out any air bubbles.
- Let the transfer medium dry completely, usually for several hours or overnight (refer package for instructions on drying time).
- Once the transfer medium is dry, wet the back of the paper with water and gently rub it with your fingers in circular motion to remove the paper and reveal the transferred image.
Photo transfer medium can produce a sharp and detailed image transfer, and it's especially useful for transferring photographs onto canvas or wood. Keep in mind that this method may require some practice to get the hang of, and it's important to follow the instructions carefully to achieve the best results.
Key Take-away
Image transfers are a versatile and creative technique that can add depth and interest to your mixed media projects, reproduce versions of your artwork and create variety of gifts using your favourite images. Whether you choose to use gel medium, Mod Podge, or photo transfer medium, each method produces a unique effect and allows you to experiment with different styles and techniques. So, go ahead and give image transfers a try – you might be surprised at what you can create!
For more art tutorials, inspiration, resources and more, visit our You Tube Channel at: ART WITH SOMA
Categories: : Beginners Guide, Mixed Media Art
