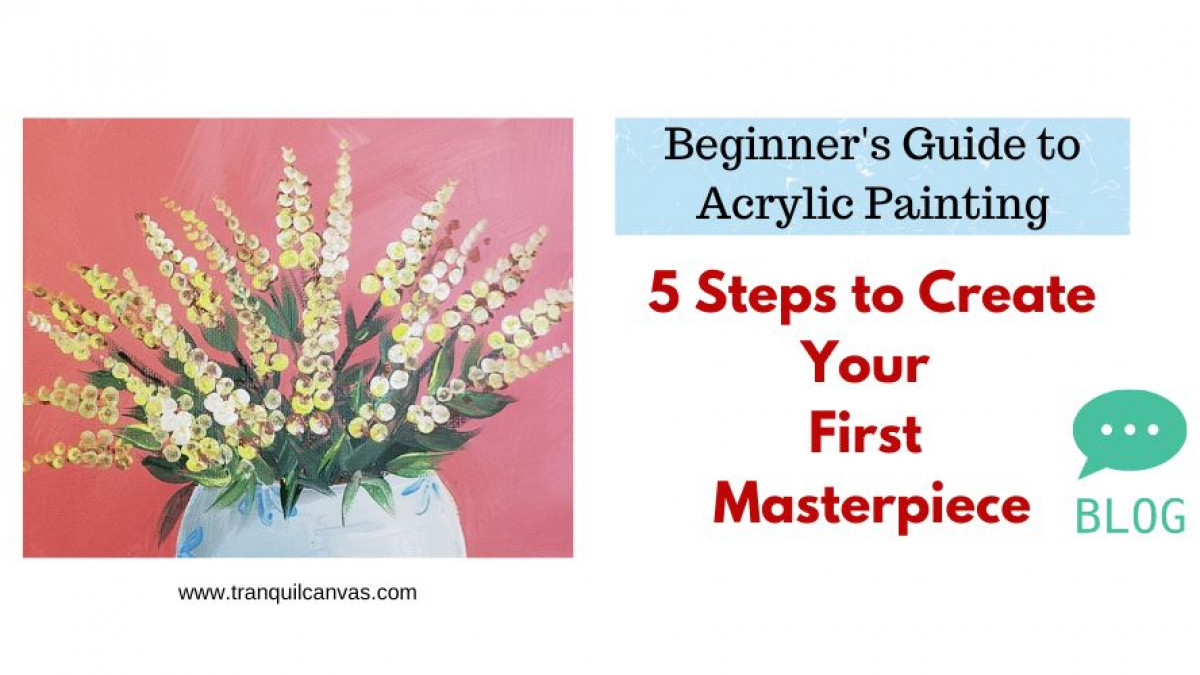
Beginner's Guide to Acrylic Painting: 5 Steps to Create Your First Masterpiece
 Soma Datta
Ready for an artistic adventure? Dive into painting! Our concise guide covers 5 steps to kickstart your art journey.
Introduction:
Welcome to our art educator's blog, where we'll guide you through the exciting journey of creating your very first acrylic painting. If you've always wanted to explore the vibrant world of acrylic paints but weren't sure where to begin, you've come to the right place. In this step-by-step guide, we'll walk you through the essential steps to gather your supplies, plan your design, prepare your colours, start painting, and add those finishing touches that will make your artwork shine.
As you follow along, feel free to check out the suggested resources provided below. These resources will further enhance your understanding and provide additional insights into acrylic painting techniques, colour theory, and composition principles.
Before we dive into the steps, let's address a couple of challenges that often stump beginner artists and hinder them from starting their acrylic painting journey.
Challenge 1: Overwhelm with Supplies
One common challenge is feeling overwhelmed by the multitude of acrylic painting supplies available. With countless brush options, various paint brands, and a wide range of mediums, it can be challenging to know where to begin. We recommend starting with a basic set of brushes and a small acrylic paint set, ensuring you have the primary colours (red, blue, and yellow) along with black and white. As you gain experience, you can gradually expand your collection and experiment with different tools and techniques.
Challenge 2: Fear of Making Mistakes
Another challenge that holds beginners back is the fear of making mistakes. It's important to remember that mistakes are an integral part of the artistic process. Every stroke and every color choice contributes to your growth as an artist. Embrace the journey of learning and experimenting, and don't be afraid to take risks. Acrylic paints are forgiving and allow you to paint over and make adjustments as you go.
Now that we've addressed these challenges, let's dive into the 5 steps that will help you start your acrylic painting adventure and create your first masterpiece.
By following these steps, you'll be well on your way to unleashing your creativity and discovering the joy of acrylic painting. Don't forget to explore the suggested resources along the way to deepen your knowledge and broaden your artistic horizons.
Thank you for joining us on this artistic journey, and be sure to subscribe to our You tube channel @tranquilcanvas for more creative inspiration and guidance.

Resources :
- Acrylic Painting 101 : https://www.artacademy.tranqui...
- Understanding Colour Theory in Acrylic Painting: https://www.artacademy.tranqui...
- Beginner's Guide to Acrylic Painting Supplies: https://www.artacademy.tranqui...
- Overcoming Fear of Mistakes in Art: https://www.artacademy.tranqui...
5 Steps to creating your first masterpiece
Step 1: Gather Your Supplies.

Grab a canvas or surface to paint, an assortment of flat and round brushes designed for use with acrylic paints, and acrylic paint set consisting of at-least 3 primary colours - red, blue and yellow along with black and white. You'll also need a palette , some water, and a cloth rag to clean your brushes. Now, you're all set to begin your expressive art masterpiece!
Step 2: Plan Your Design.
64b3787dc276d_lg.png)
Before you start painting, sketch out your ideas or vision on the canvas using a chalk or pastel pencil, since you can wipe out an mistakes using a wet paper towel and the under-drawing can easily be painted over once you are ready with your sketch. Consider how you are going to compose your painting in a way that the subject is emphasized to stand out as the ‘star of the show’.
If your painting is going to be an abstract then you will need to organize the shapes and forms in a way that the arrangement looks balanced and cohesive. My tip would be to use either odd number of similar elements and distribute them across the canvas OR use even number of elements and place it roughly in symmetrical sections of the canvas.
Next, Visualize your composition bit further , and think about the colours and texture you want to create. This will help you stay focused when you start painting and start bringing your vision to life.
Step 3: Get Your Colours Ready.
64b378b28cc85_lg.png)
Squeeze a small amount of each colour onto your palette. Then, dip your brush into water and mix it with the paint to create a smooth and fluid consistency. If your paint is too thick then you might find it hard to get smooth blending effects and too runny might cause the paint to be more transparent than desired. Of course if you need thick textures and thin transparent glazes then you would need to use thick or runny paints as needed by your artistic vision. When you start mixing colours, paint colour swatches first to ensure you have the right mix. If in doubt use a colour wheel or download the colour mixing recipe provided in the link below . Experiment with different colour combinations before using them in your canvas and that way you will achieve colour schemes that accurately represent your creative voice.
Step 4: Start Painting.
64b378d66f781_lg.png)
Now it's time to make those colours come alive on your canvas. Use broad strokes using flat brushes for larger areas and finer strokes using the smaller detail brushes for details. The trick is to start painting loose and end the painting with ‘tight’ or perfectly painted strokes for any intricate details, patterns or texture.
64b3792485c30_lg.png)
Remember, there are no mistakes in art, only new opportunities. Let your imagination guide your brush. Also, note that acrylic paints can be painted over. So if you make a mistake, you simply let the paint dry and then paint over it with the right colours as you need.
Step 5: Add the Finishing Touches.
64b37940c3fe2_lg.png)
Step back and evaluate your painting. Is there anything missing? Also look in the mirror to determine both strengths and weaknesses of your painting. Tweak and adjust things as needed. And then comes the most important part of the painting. Add highlights, shadows, or texture to enhance your artwork. In this particular painting that I'm making, I'm considering that the light is coming from the right hand side.
In this painting, I chose to add white highlights on the right side of the flowers and the vase to create an impression that the light source is on the right.
Trust your instincts and add those final touches that will make your painting truly unique.
Conclusion:
64b3798daab86_lg.png)
Congratulations on completing the 5 steps to embark on your artistic journey in acrylic painting. Remember, painting is a process, and every stroke brings you closer to mastery. Embrace the imperfections and enjoy the experience of creating something truly personal. Only then can you start relaxing into the creative process and witness the enchantment of artistic transformation, where the colours dance and your imagination takes flight, marking the true beginning of your creative adventure.
Categories: : Acrylic Painting, Beginners Guide, Colour Mixing, Tips and techniques
